Part 2 : How to use apptest.ai – Quick Manual
Author : Apptest.ai
1. Create your account for free!
First, you need to visit the apptest.ai web site, https://apptest.ai, and create your account.

Exploratory AI Testbot on Demand: https://apptest.ai
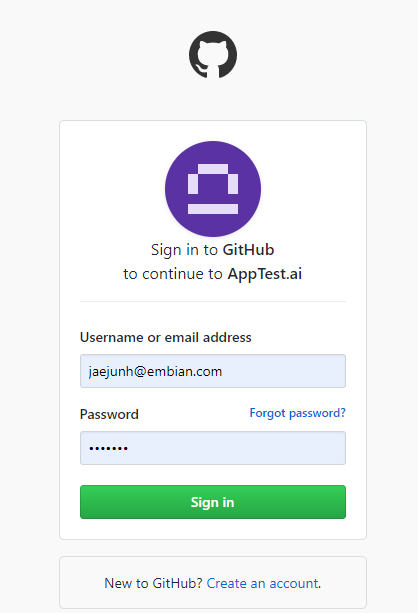
If you press “GO TO TEST”, it will let you sign in. If this is your first time visiting apptest.ai, you need to create an account. If you have a github (or google) account, press github button to create one from it.

apptest.ai login page
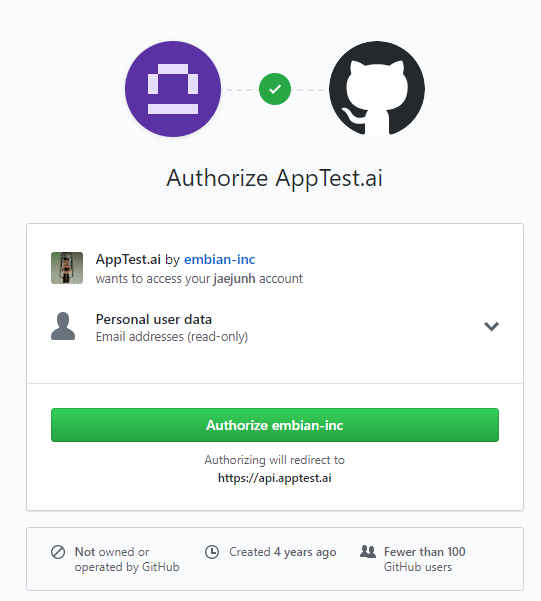
github account can be configured for apptest.ai
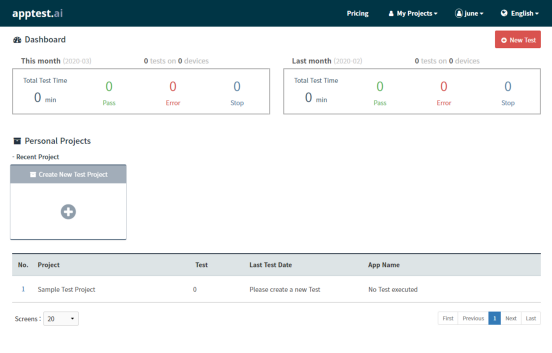
2. Apptest.ai man screen (with dashboard)
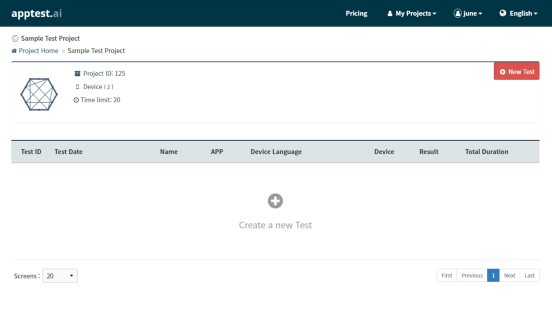
If you login, you will be greeted in main screen with 1)test dashboard, which will summarizes all your test of “pass, error, stop” and “how many times “ all of your tests were carried in current and previous month, 2) personal project shortcuts, which will led you to the current projects in chronological order, and 3) a list of your projects where all your tests are stored. To see a detailed test report of your past test, click the appropriate project name from the list of all projects created. If this is your first time to use, you will see an empty “Sample Test Project” (default project) only.
To start a new test, press the red “New Test” button now.
3. Begin a new AI Testing
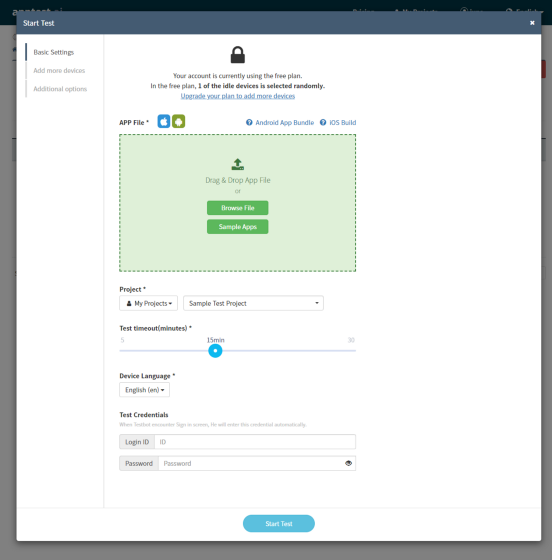
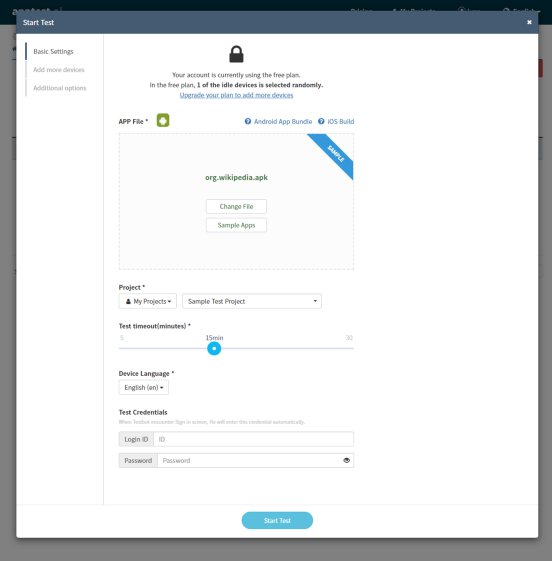
When you start “New Test”, it will ask you a few things to configure. Firstly, you need to supply your app (either APK or IPA) by drag and drop it into the green upload zone. If you don’t have one ready, you can try one of “Sample Apps” we already prepared for you to test drive.
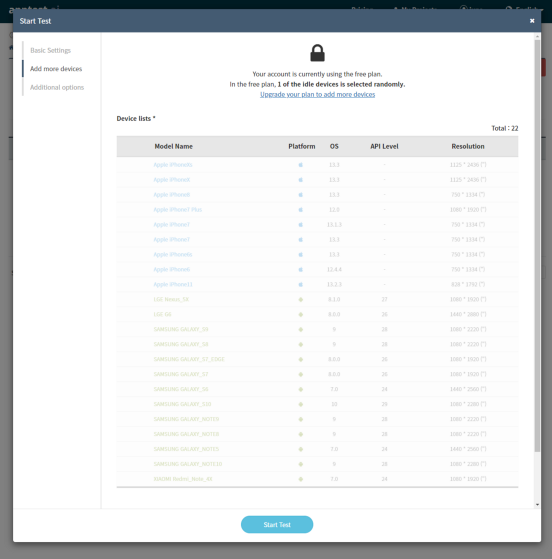
Optionally, you can set “Test Timeout” values (how long AI Testbot will test) and set login ID and password (it will be only used for this test session when AI Testbot needs to login.) Later on, if you become an enterprise or paid user, you can even change or add more devices for parallel testing.
Additionally, there are other interesting options, such as AT&T Video Optimizer — please explore those features later once you are familiar with AI Testbot.
4. Awesome Test report is generated when AI Testbot runs

Once AI Testing begins, you can always access your AI Testbot report.
To see each test on the specific device, just click device from the list of tested devices any time.
For all tested devices, each report is created separately and the multiple perspectives of testing are summarized in following taps.
- Summary: a basic test information including device name, OS version, test hours, test date, and most importantly any errors found such as Installation Error, 404-Not Found, Application No Response (ANR), and Force Closed (FC) etc.
- Activity Map: It displays a test exploration tree (aka test menu tree) of each app screen visited.
- Screen: Sequential ordered tested screens of AI Testbot exploration. Each screen is depicted with the specific action event and location of AI Testbot, i.e. Click, Select, Swap, Input, Back, etc, with any Error or Warning which are marked on each screen.
- Performance: CPU and Memory usage graph while AI testing is performed. Any area of the graph is clickable so that one can see a detailed view of the tested screen as well as the log at that specific time.
- Log: Mobile device log of Waring (W), Info (I), Debug (D), Error (E) which are handy for developer
- (optional) AT&T Video Optimizer: One might be interested to see not only the error and warnings but also qualitative aspects of how the app was build. In-depth qualitative test reports are generated from AT&T Video Optimizer — courtesy of AT&T open source team — which is very handy for developer to optimize the app for networking, security, and performance.
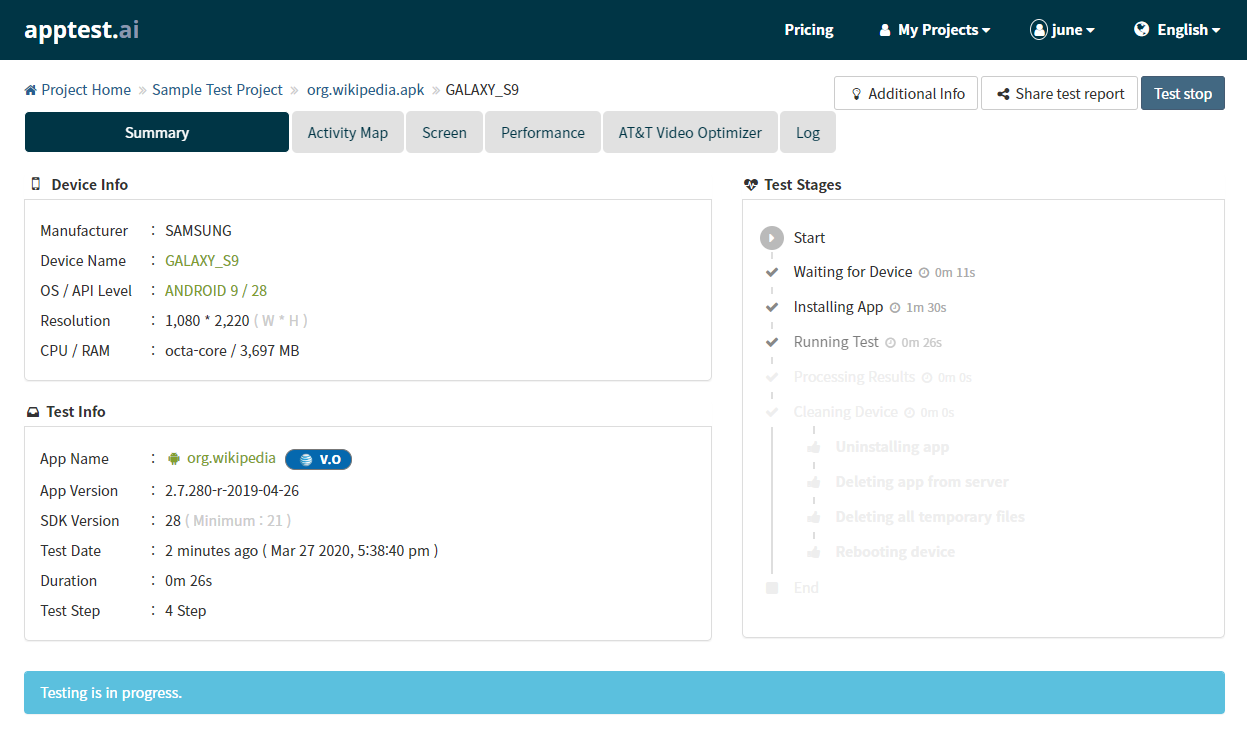
Summary Report
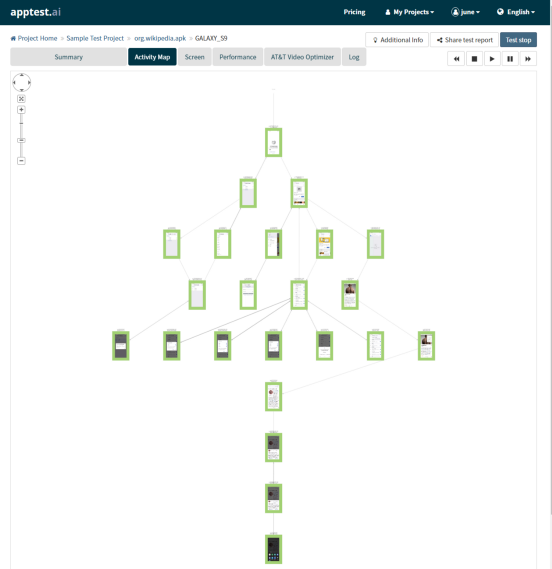
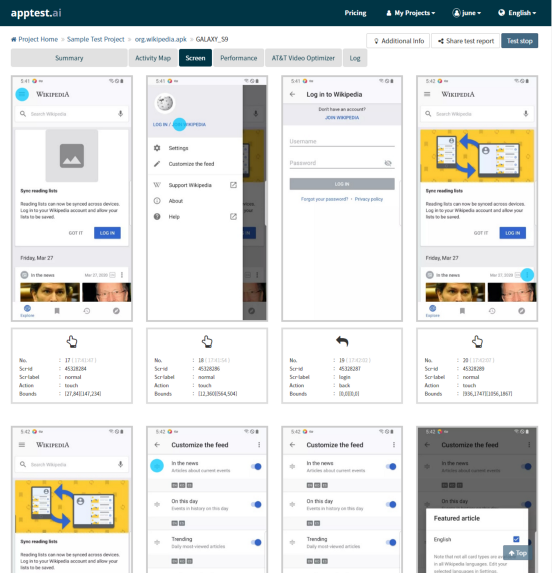
Activity Map and Screenshot Report of AI Testing
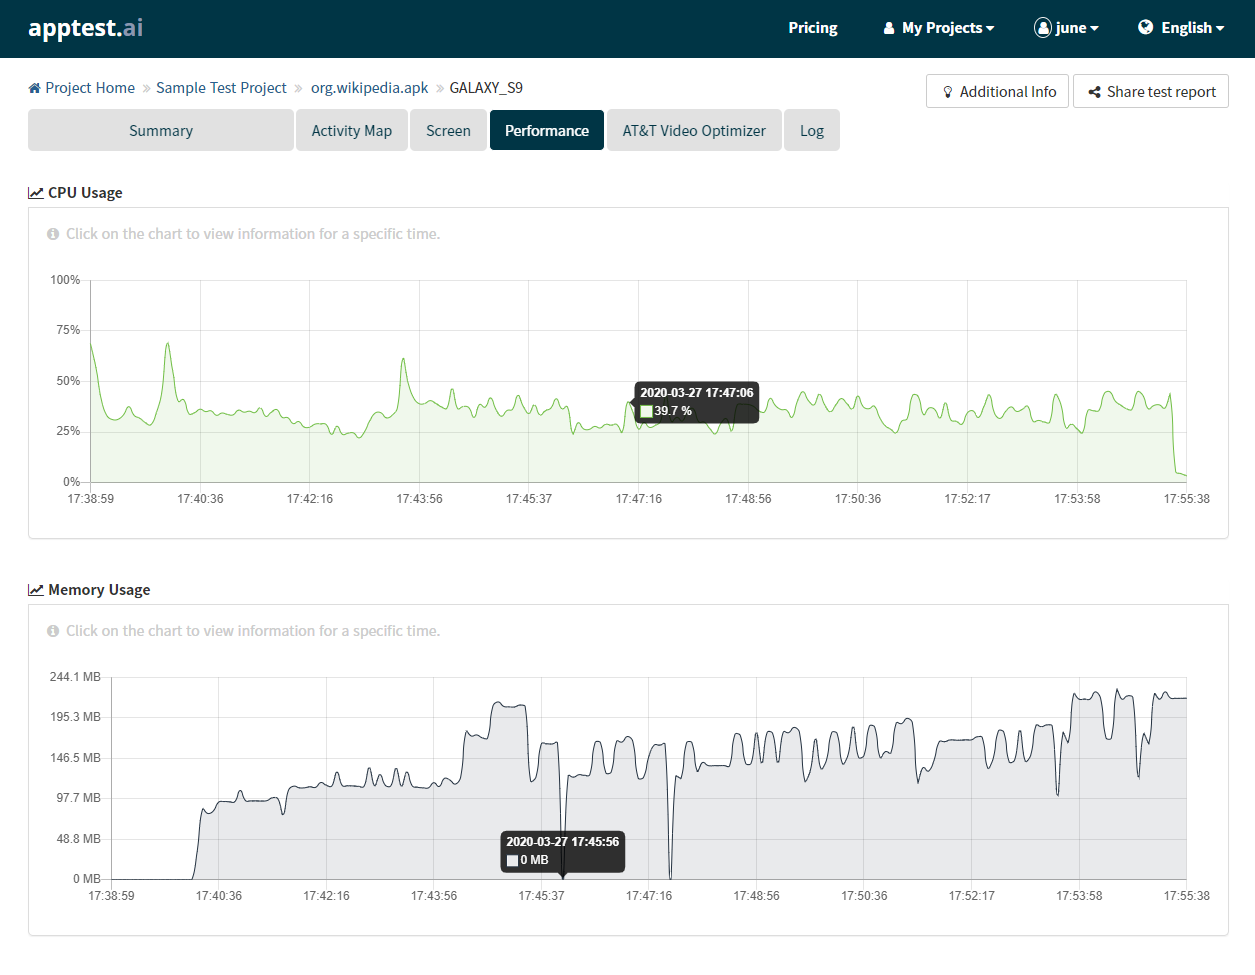
Performance Report of CPU and Memory Consumption of App
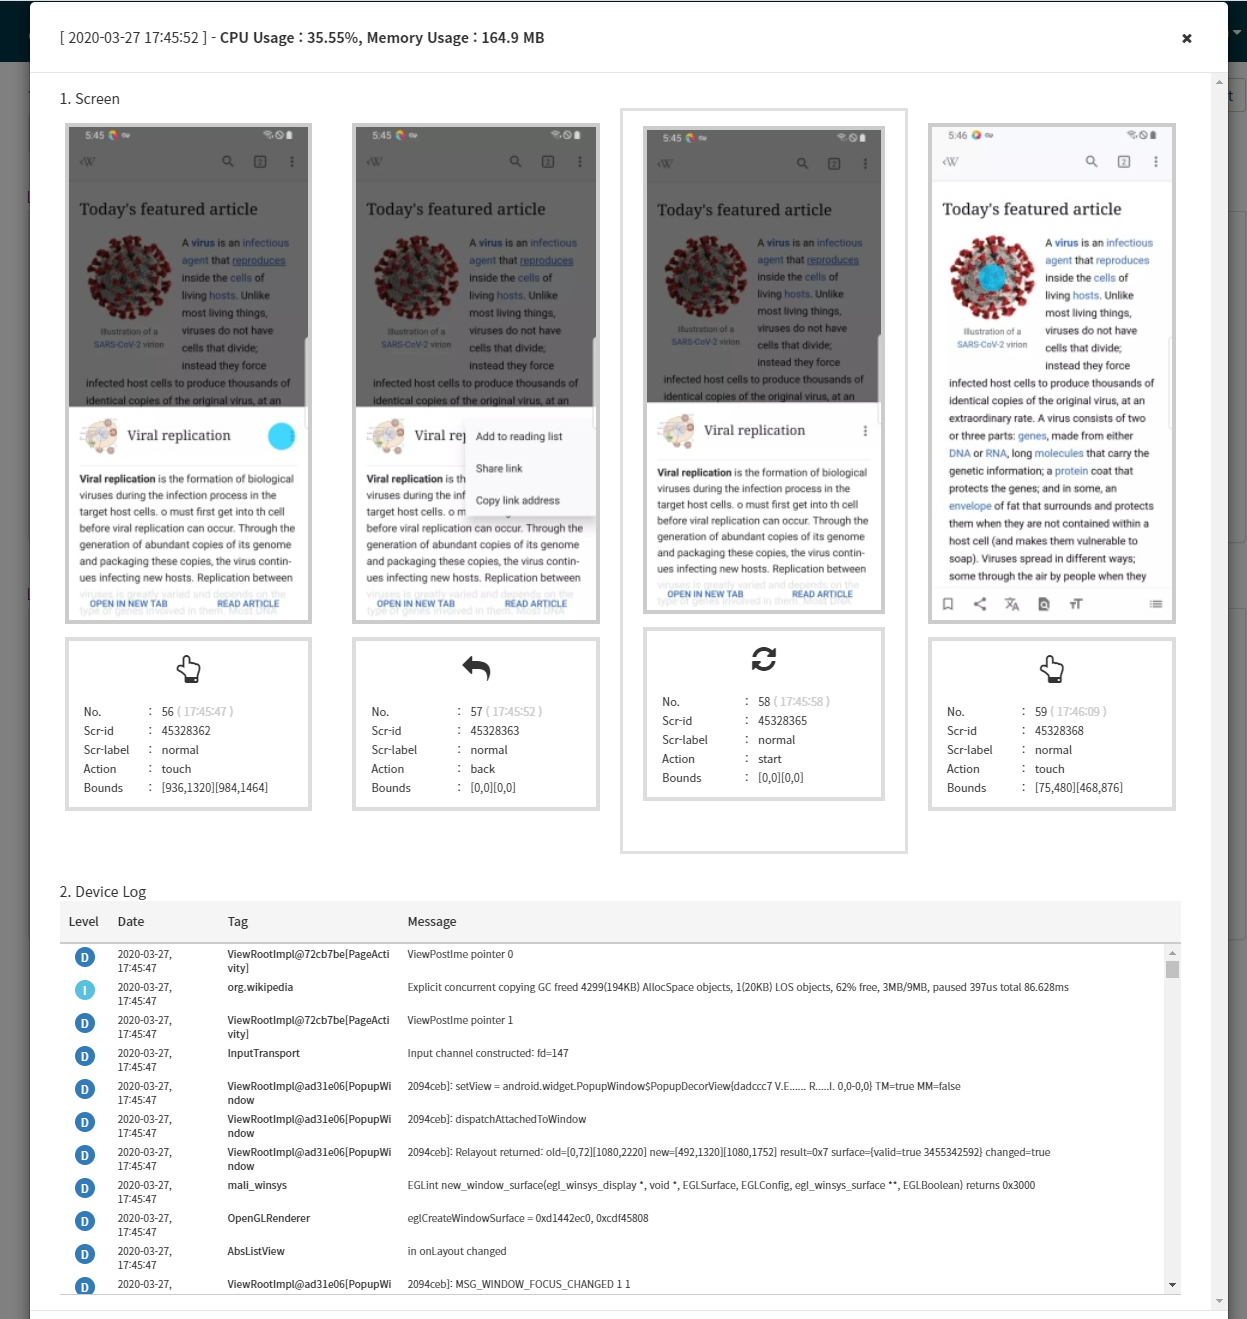
Clicking the Performance graph will bring a detailed view at the specific time
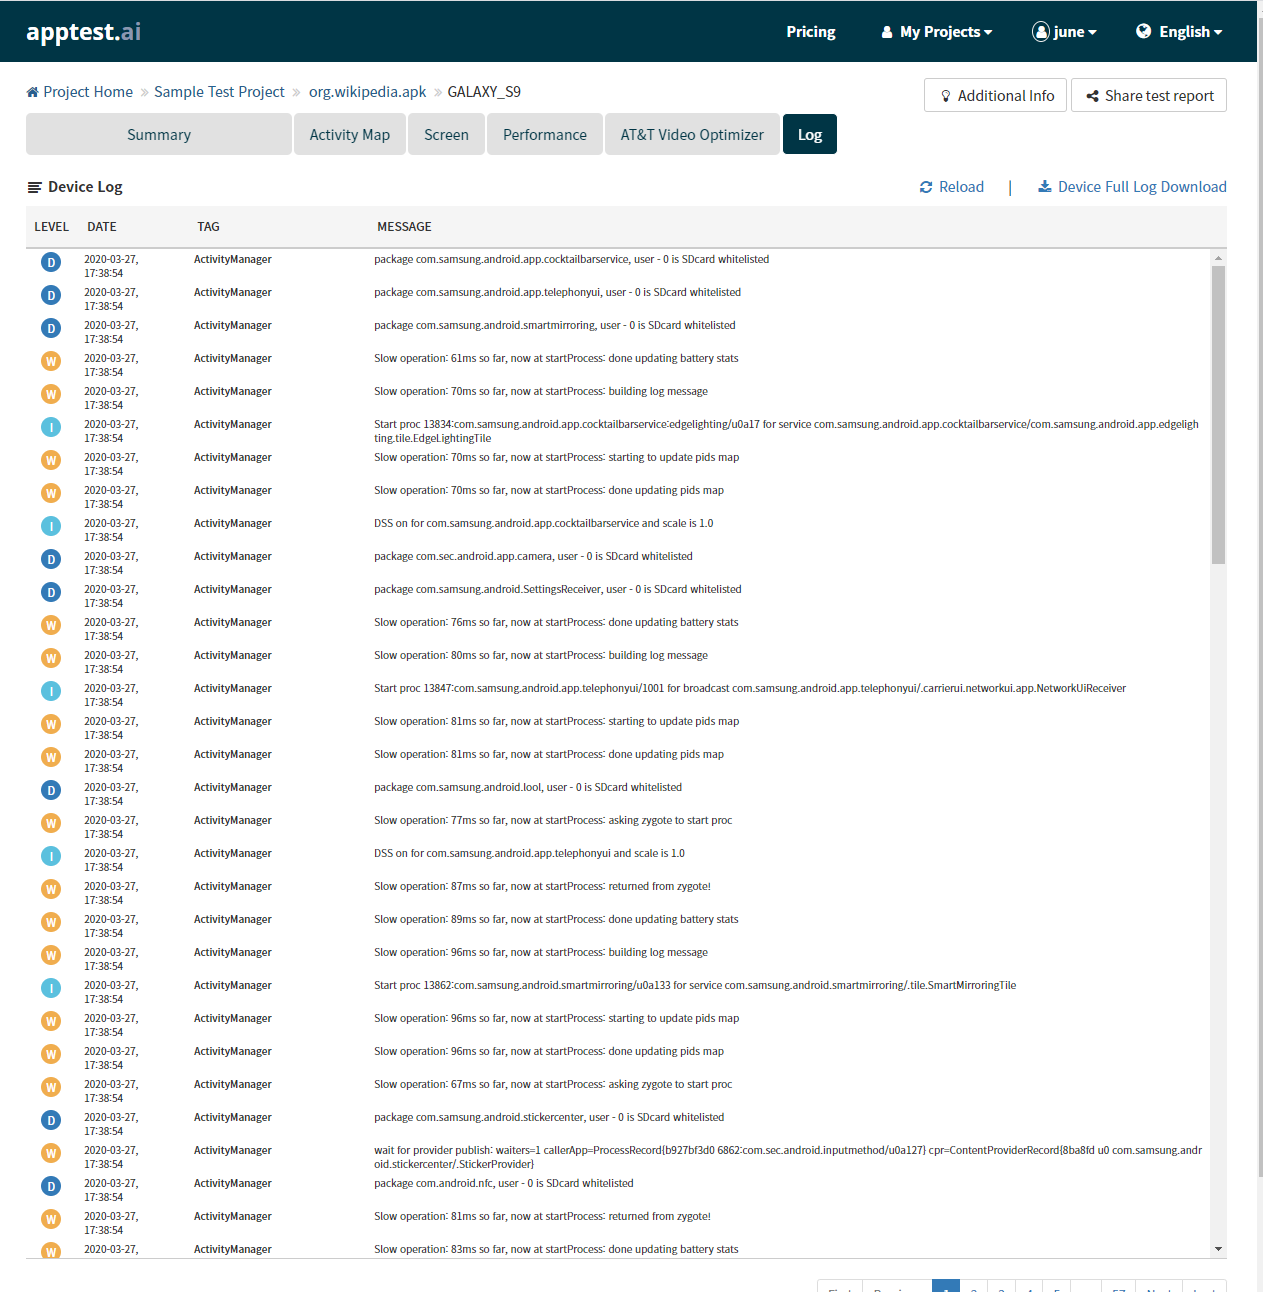
Device Log of AI Testing

Optional AT&T Video Optimizer Report
5. Sharing AI Testbot Report with others
If you like to share testing within the team, you can create a team project instead of a personal project. However, sometimes you need to share the test report with others who are outside of your team. In that case, you can use the “Share test report” feature and create a public URL with optional expiration duration, which can be embedded within your email for others.

Share test report with others
There is another handy feature to collaborate your test result discussion with “our apptest.ai team”. If you like us to review your report — many of our partners frequently discuss their reports with us; this has been very effective and opened up win-win synergy with our partner— you can share your test report with apptest.ai too.
Closing Remark…
Apptest.ai is constantly enhanced with new features requested by our users, and there are many features (including experimental beta) that are intentionally left out for this reading for clarity. Once you are familiarized with basic features in the document, please try out other features too. Moreover, you can always endorse us by being our paid customer 🙂


