Apptest.ai: The 5-Minute Essentials
If you’ve heard “Stego,” “Ptero,” or “autonomous testing” and want a quick picture of how they fit together, start here. This guide shows how Stego and Ptero work together so teams can build and run no-code test scenarios.
The Two Pillars of Apptest.ai
Apptest.ai is built on two components that work together from start to finish:
Stego is where you build test scenarios using a visual, no-code workflow. Record a flow, then refine it by dragging UI elements into each step to complete the scenario.
Ptero is where those scenarios run at scale. Schedule runs, choose target devices, and review results (screenshots, logs, and navigation paths) in one place.
Stego: Your AI-Assisted Scenario Builder
Stego turns a recorded user journey into a reusable test scenario with visual, drag-and-drop authoring. It’s designed to help teams build scenarios without writing test scripts for each step.
How it works
Record a flow by clicking through your app to capture the path you want to test. Then drag UI elements from the screen into the flow to create verification steps. Save the scenario, and it’s ready to run in Ptero (on demand or on a schedule).
What makes Stego different?
Stego is built as a smarter record-and-replay workflow. Traditional approaches often rely on DOM/XML locators (for example, XPath) or coordinate-based targeting. These can work, but they’re often sensitive to UI structure and layout changes.
Stego adds AI-assisted screen understanding to help scenarios stay stable as the UI evolves:
- AI-based recognition: Identify elements by what they represent on screen, not just a single rigid locator.
- Auto-registration: Click through once, then reuse the scenario without rebuilding each step.
- Self-healing: Reduce maintenance by adapting element matching when screens change.
Ptero: Your Test Command Center

Ptero is where your tests run at scale. Upload scenarios from Stego, choose target devices, and run them on demand or on a schedule. Review results in one place with screenshots, logs, and navigation paths.
Ptero also supports autonomous exploration. Run an AI-driven testbot to explore the app without predefining scenarios. The bot can detect stability issues (for example, crashes and ANRs), map navigation paths, and generate an activity report for review.
Bottom line: Build flows in Stego, then scale and monitor them in Ptero.
Two Ways to Test
Pick your approach based on what you need.
① Scenario Testing: Validate Critical Flows
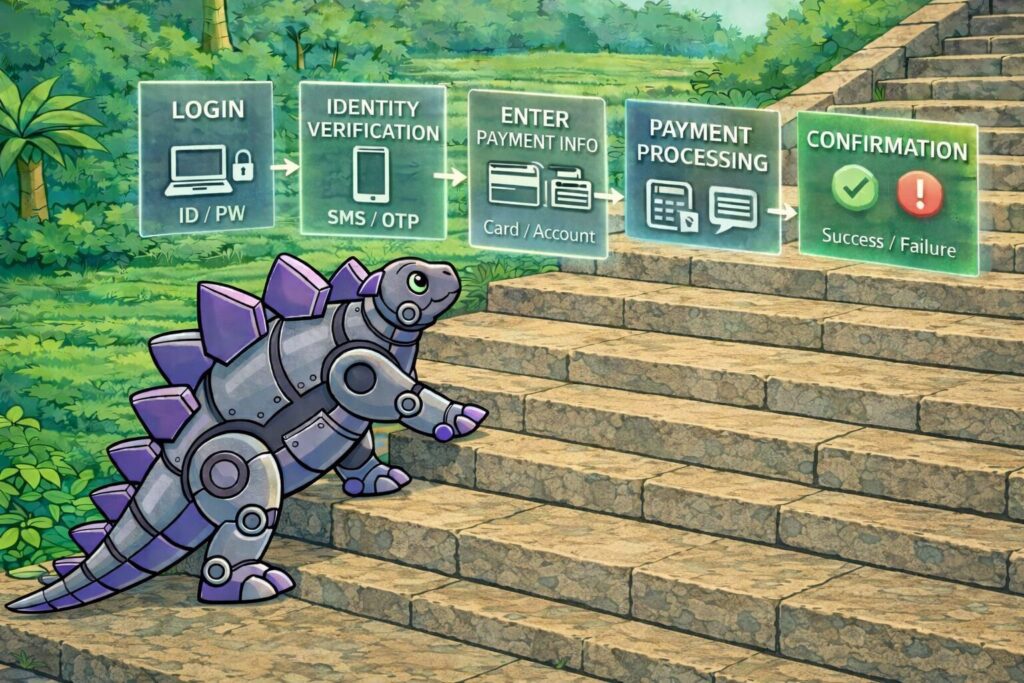
Use this when key user journeys must work reliably after every release. Record a specific path in Stego (for example, checkout or sign-up), then reuse it across multiple devices to spot issues after updates.
You’ll get step-by-step pass/fail results with screenshots and logs, so when something breaks, you can quickly see where to start debugging.
② Autonomous Testing: Explore Without Scripts

Use this when you want broader coverage quickly without predefining scenarios. Upload your app binary (APK/IPA) to Ptero, then run an AI testbot to explore the app and surface stability issues.
The bot can flag issues like Force Close (FC) events and ANRs, along with problematic navigation paths. You’ll also get an activity map showing which screens were visited and how the bot moved through the app, plus detailed logs for review. Use this for a quick sanity check on new builds or to decide which paths are worth turning into scenarios later.
When to Use What
| If you need to… | Use this | Why |
| Verify core features before release | Scenario Testing | Confirm critical flows (for example, checkout or sign-up) still pass on target devices. |
| Run a quick sanity check after a new build | Autonomous Testing | Validate that the app launches and basic navigation works, and flag stability issues. |
| Run daily regression tests | Scenario Testing | Re-run the same scenarios daily to detect breakages caused by recent updates. |
| Broaden coverage without predefining scenarios | Autonomous Testing | Explore more paths automatically, then review the exploration map and logs to decide what to turn into scenarios. |
Getting Started in 3 Steps
1. Run an Autonomous Test (5 mins)
Open Ptero, upload your app binary (APK/IPA), and click Run.
This shows you how the bot explored your app and what the report includes (paths, logs, and screenshots).
2. Record Your First Scenario
Open Stego and record a basic flow (for example, login).
Add one or two verifications, save the scenario, and reuse it without writing code.
3. Schedule and Monitor
In Ptero, schedule the scenario to run automatically.
Review results regularly to spot breakages before a release.
Questions You Probably Have
What kind of apps does this work with?
It works with apps that have a UI you can interact with on screen, including iOS, Android, web, and desktop apps.
Is this actually no-code?
Yes. Record the flow by clicking through the app, then use the AI screen analysis results as drag-and-drop blocks to add verification steps.
What devices can I test on?
Use our cloud device farm to test on the devices your users actually use, including Samsung Galaxy and iPhone models.
How is this different from other record-and-replay tools?
Many record-and-replay tools rely on coordinates or rigid locators (for example, XPath), so UI changes can cause tests to break. Apptest.ai adds AI-assisted screen understanding to recognize elements visually, auto-configure actions, and reduce maintenance when the UI changes.
Ready to Ship a Better App?
Open Ptero and run your first autonomous test. You’ll get your first report in about 5 minutes and see what the results look like.
Related Post
Autonomous Exploratory Testing vs. Scenario Testing: What’s the Difference?